Getting Started
Account & Artist Setup
Configure Dynamoi organizations, artist profiles, team roles, billing scope, platform connections, and multi-artist access.
After onboarding, you can shape your account: organize artists under an organization, edit each artist profile, and invite your team.
Understanding Organizations and Artists
Dynamoi uses a two-level structure to organize your account:
| Level | Purpose | Example |
|---|---|---|
| Organization | Your business entity that groups artists together | "Sunset Records", "Artist Name Music" |
| Artist | Individual artist, channel, or project with its own billing and connections | "Luna Rivers", "The Midnight Collective" |
Note Each artist has its own managed advertising status, campaign credit, platform connections, and reporting.
Multi-Artist Organizations
If you manage multiple artists, you can add them under one organization:
Navigate to Artist Switcher Click your artist name in the sidebar to open the artist switcher dropdown.
Create New Artist Click
Create New Artistand enter the artist or project name.Set Up the New Artist Each new artist starts with a fresh onboarding checklist. You need to connect platforms and activate billing separately for each artist.
Benefits of Multi-Artist Setup
- Separate billing: Each artist has its own managed advertising status and campaign credit balance
- Independent campaigns: Run campaigns for different artists without mixing data
- Distinct platform connections: Connect different Spotify accounts or Meta pages per artist
- Team flexibility: Invite different team members to manage different artists
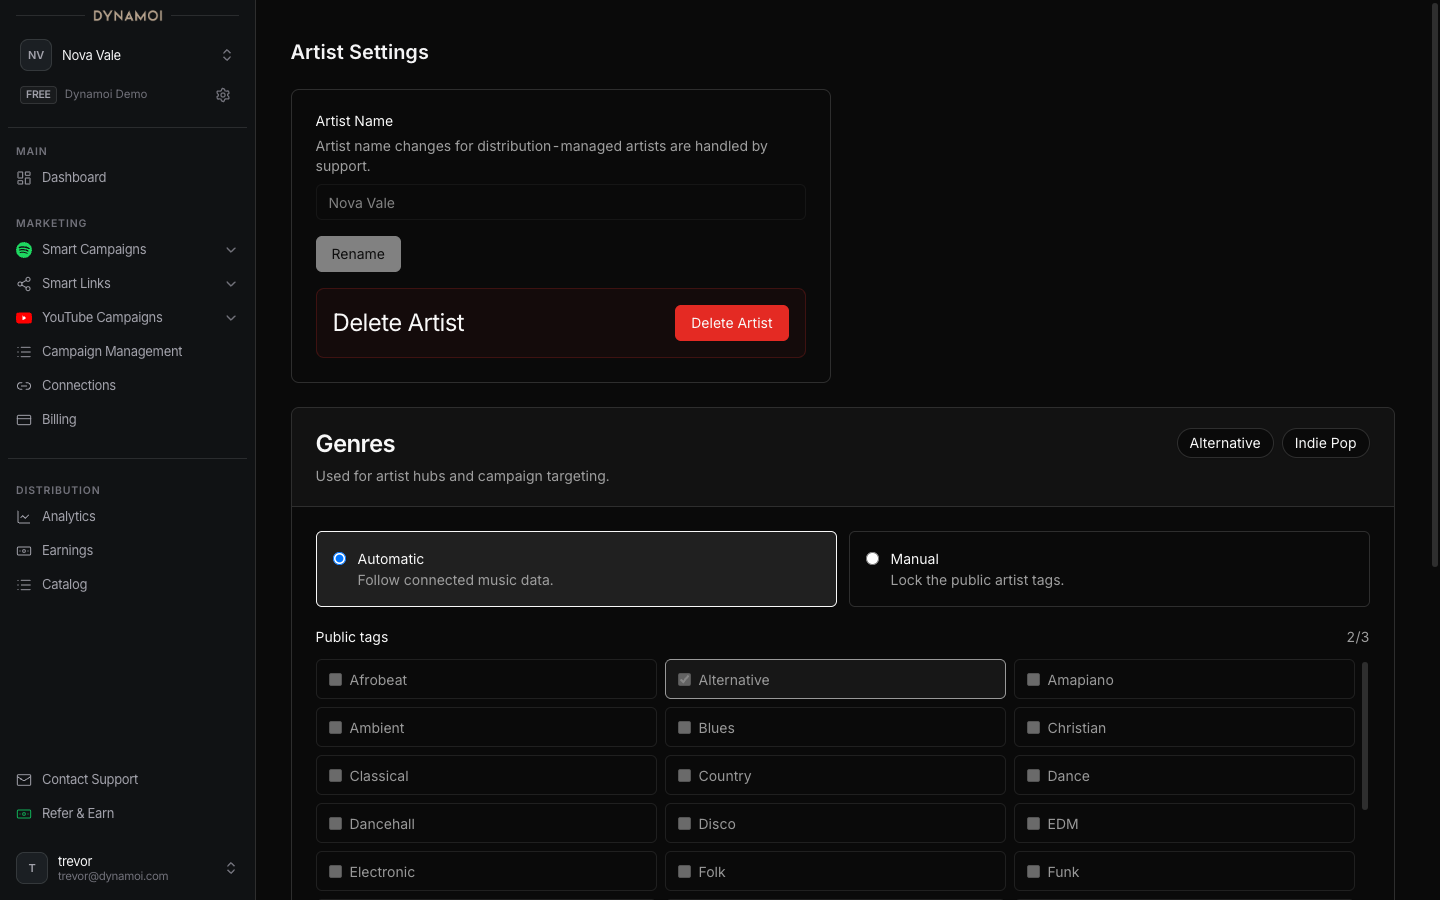
Artist Profile Settings
Access artist settings from the sidebar under Settings → Artist.
Editable Fields
| Field | Description |
|---|---|
| Artist Name | Display name shown in dashboard and campaigns |
| Profile Image | Avatar displayed in the sidebar and team views |
Tip Keep your artist name consistent with your Spotify for Artists and social media profiles for a cohesive brand presence.
Team Member Management
Invite collaborators to help manage campaigns and view analytics.
Inviting Team Members
Go to Team Settings Navigate to Settings → Artist → Team section.
Send Invitation Enter the team member's email address, choose a role, and click
Invite.Wait for Acceptance The invitee receives an email with a link to join your artist. They need to create a Dynamoi account if they do not have one.
Invitations default to Viewer access. Select Editor or Admin only when a collaborator needs to make changes.
If the artist belongs to an organization, the invitation grants access to every artist in that organization. If the artist is not in an organization, the invitation applies only to the current artist.
Admins and editors can invite editors or viewers. Only admins can invite or remove admins.
Team Member Permissions
Choose a role based on what each collaborator needs to do:
| Role | Access |
|---|---|
| Admin | Full access plus admin management. Can invite, remove, and change roles for admins, editors, and viewers. |
| Editor | Full access plus team management for editors and viewers. Cannot add or remove admins. |
| Viewer | Read-only access. Can view analytics and reporting but cannot create, pause, or edit campaigns, update billing, or change platform connections. |
Warning Only the organization owner can delete the artist or transfer ownership.
User Settings
Your personal user settings apply across all organizations and artists you have access to.
Access user settings from Settings → User.
| Setting | Description |
|---|---|
| Your login email (contact support to change) | |
| Name | Your display name shown to team members |
Use Connected Apps for account-level app and MCP authorizations.
Switching Between Artists
If you have access to multiple artists (either in the same organization or different ones):
- Click your current artist name in the sidebar
- Select the artist you want to switch to from the dropdown
- The dashboard updates to show that artist's data
Note The artist switcher shows all artists you have access to, regardless of organization.